

How to own a professional website at zero costs! (Part 2)
This is the second post in my two-part series of how I set out to create my own professional website at zero cost.
Last week I shared about how I set out to create my own professional website at zero cost. If you followed that article, by now you should have a readily-installed WordPress website accessible under your own domain. Probably it looks ugly, but that's okay. We will make it pretty, later.
However, first, we finish setting up your toolbox. Making pretty comes last. Why you ask? Well, WordPress is a fickle bitch anything you do, be it plugins (more functions) or themes (making it more pretty) can break your website. While setting this one up, I had to start all over again. So let's make sure we build all the capabilities before you spend all the time making it look nice. What do we start with? 💰of course 🤑
Need help setting things up or don't want to do it on your own? Contact me!
Accept Payments
I spent some time researching what is the best way to accept all kinds of payments. Unfortunately, there's not really a free way, but none you have to pay for to set-up. I landed with Stripe and PayPal. They both work similarly. They will charge you a 3.5% fee for every transaction. If you don't want to pay this price, just make whatever you are selling a little bit more expensive and put that 3.5% on your customers. I really liked Stripe, they have a very cool sign-up and onboarding experience. Unfortunately, all the free WordPress plugins didn't work for me, so here we go with PayPal:
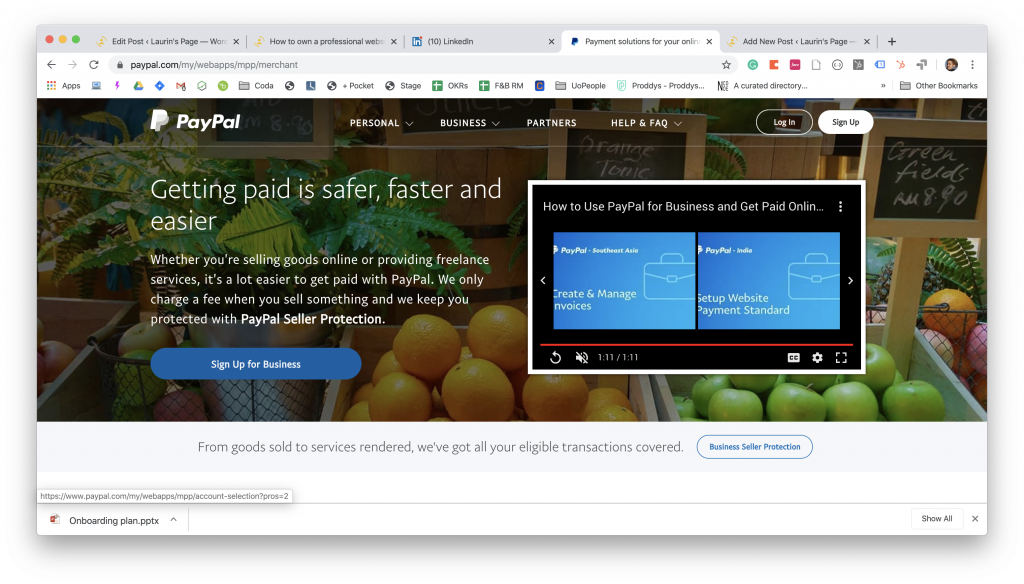
Just navigate to the PayPal merchant website (yes, you will be a merchant! 😬 ) and confirm you want to receive Payments.

They will ask for your email address. You cannot choose your existing email account. If you're like me and use a Gmail account, you can simply re-use your existing account by adding a suffix via + to your email address. If you don't understand what I mean, check this article. My email address is laurinstahl@gmail.com. For PayPal, I would sign up with laurinstahl+paypalbiz@gmail.com. All your emails will still go to your one Gmail inbox. They will ask you for a lot of information, such as a business address and whatnot. Simply put your home and private information for everything, if you're not a registered business. Don't worry, it worked for me ✌️so it will for you! I suggest you put Individual for Type of Business, though.
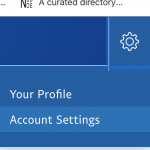
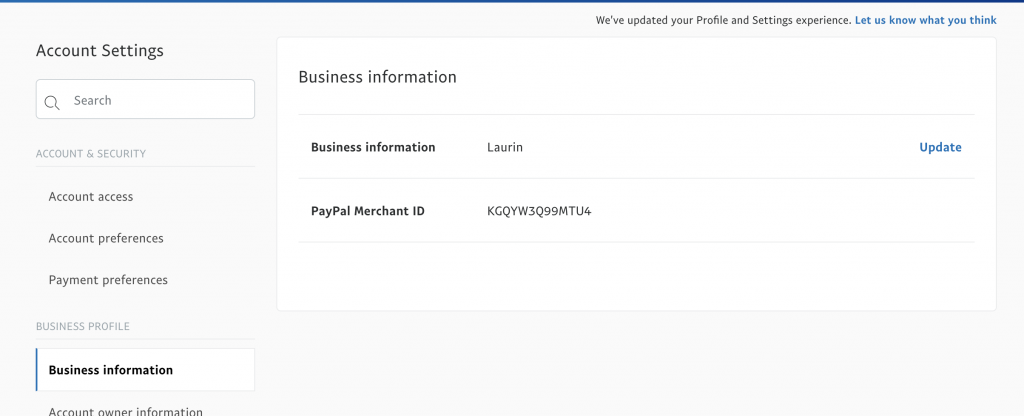
Once you finished creating your account, you need to confirm the email that they sent to your address and then we will find our Merchant ID under Account Settings -> Business information or simply follow this link.
In the next step, we will set-up our PayPal pay button!
Important: PayPal actually blocked my account and asked for a scan of my passport and a list of transactions from my bank account. Verification took ~24 hours after my uploading and during that time, I was not able to successfully set-up the PayPal pay button. So you might wanna take a break at this step and save yourselves some headache.
Navigate to Plugins -> Add New (left hand-side in the WordPress admin panel) and search for PayPal Buy Now Button. It should find the correct one as first search result, which is the plugin that you will install and activate.

Then you go to Plugins -> Installed Plugins and press Settings under the PayPal Buy Now Button plugin.

You don't need to change much. Make sure you choose the same currency that you chose on PayPal for Currency, enter your Merchant ID from the previous step at Live Account and select Live Mode at Sandbox Mode. You can additionally choose Button Size and type and whether PayPal opens in same window or new window (this is for the checkout proccess).
The final and very important step is the Cancel URL and Return URL. When using this plugin, you can only have one Return URL, which is where your customers will land after they successfully checked out using PayPal. This means you need to adapt the capabilities for your plugins for your different scenarios of products you might sell:
- You sell individual digital or physical products: The page in the Return URL should be a generic "Thank you" or "Order confirmation" page. The details about the specific order, you need to handle manually. On PayPal you will see the price your customer paid and the description you gave your item as well as their email address, so you can easily handle it from there.
- You sell one generic product/service or one product bundle and will have only one PayPal button: The page in the Return URL should be the confirmation page giving specific information about how your customer can access your product.
Make sure you create placeholder pages, one for your Cancel URL and one for your Return URL and then paste them there. No need to design them beautifully for now or spend a lot of time on the copy. We just want to make sure it works. I will not go into much detail, how creating new pages work, but this might be a good point to check your website's URL structure, just to ensure that you don't change it later, fucking up your check-out flow.
Simply go to Settings -> Permalink and pick one of the given structures. For me, it actually had a custom structure set up as /index.php/%postname%/. I changed it to /blog/%postname%/.
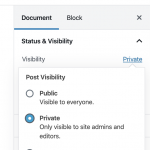
Now when creating your pages for Cancel URL and Return URL, you set the visibility as Private, so no one can actually find and access your goods for free by mistake.
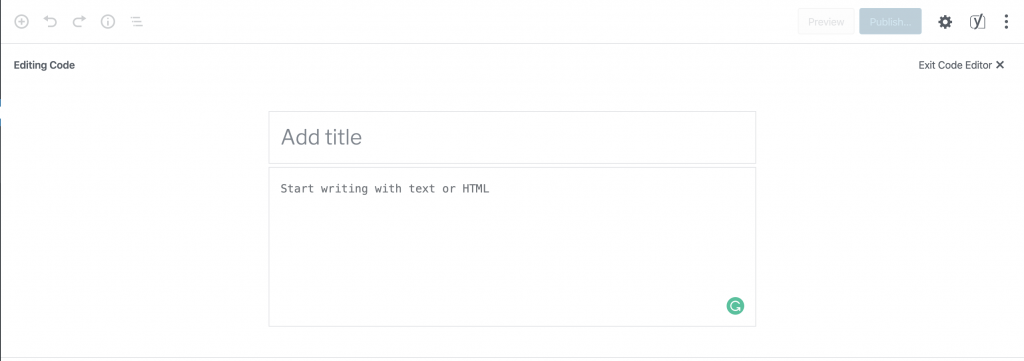
After you finished setting all of this up, now it's time to actually place the PayPal Pay Now button. Now we will create a page for whatever product / service you sell. Simply create a new page - again, no need to make it perfect, it can just be a placeholder for now. Then we need to switch over to Code Editor. To get there, simply press the three dots menu icon (it's called kebap menu) on the top right and select Code Editor (or you use the Short Cut ⇧⌥⌘M on your keyboard. Your Post Page should look something like this:
Now you can simply add the button with this code: [wpecpp name='Automation Tools' price='5.00'] where in name='{Product Name}' you specify the Product Name in between the 's (curly brackets { } are not needed). This is what will show up on PayPal after a customer has ordered. In price='{Product Price}' you specify the Product Price in between the 's (curly brackets { } are not needed). This will be the actual price people get charged. Now Save and Publish your page. You should now be able to see the PayPal button. You can actually try checking out and see if it properly triggers the Cancel URL and the Return URL. Don't worry about losing any money in this step. You can finish the complete check-out, just refund the money back to yourself via PayPal. The PayPal fee will also be completely refunded and no money will be lost.
Full Fledged Marketing Suite
In the next step, we will build our high-performance marketing suite, using only free tools available. Among those are Hotjar (Heat Maps), Google Analytics (Analytics, duh), Google Optimize (A/B Testing) and MailChimp (Email). Integrating all of these would be a pain doing it one by one, so for this, we will install Google Tag Manager (GTM). In layman's terms, Google Tag Manager will build you one package, in which you can pack whatever you want and then implement that on your page in one go.
Simply follow this article on how to set-up a GTM account. Then you will need your GTM container ID. This is how you get it. Note it down somewhere and go once more to Plugins -> Add New. Search for Google Tag Manager for Wordpress, install & activate and go to Settings. Add your GTM container ID under Google Tag Manager ID and select Codeless injection. You're set. Now you won't have to touch this on the WordPress side anymore and anything that you set-up on Google Tag Manager will automatically be applied to your website.
In this article, I will not go into details of the benefits of Hotjar, Google Analytics, Google Optimize, Crisp or Mailchimp, but you can easily read up on that yourself and also how to install it:
Google Analytics: Setup | Beginners Guide
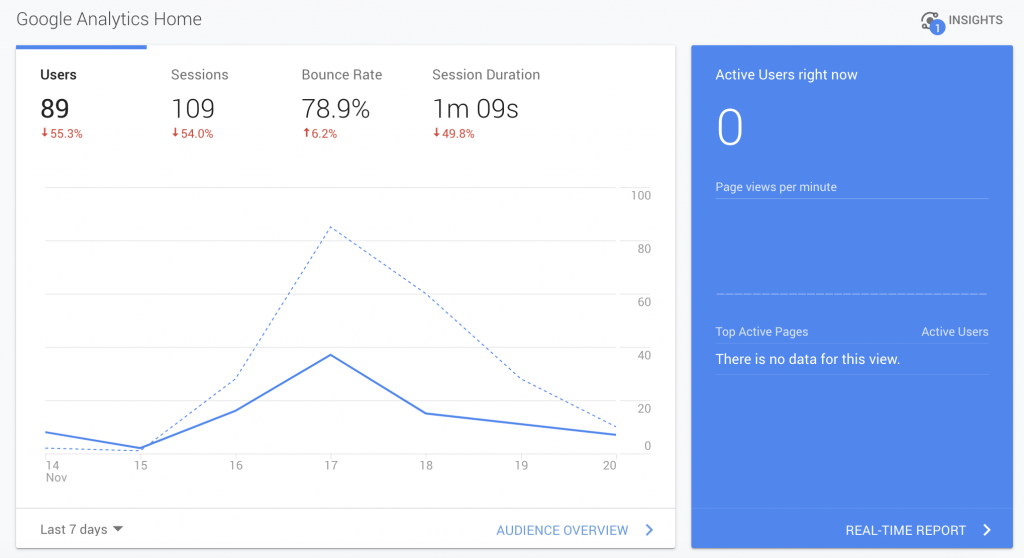
Use Google Analytics to get a dashboard for your daily KPIs, such as new visitors, where people come from, etc...
Tip: Set up goal tracking, this will also help you validate your A/B experiments
Google Optimize: Setup | Beginners Guide
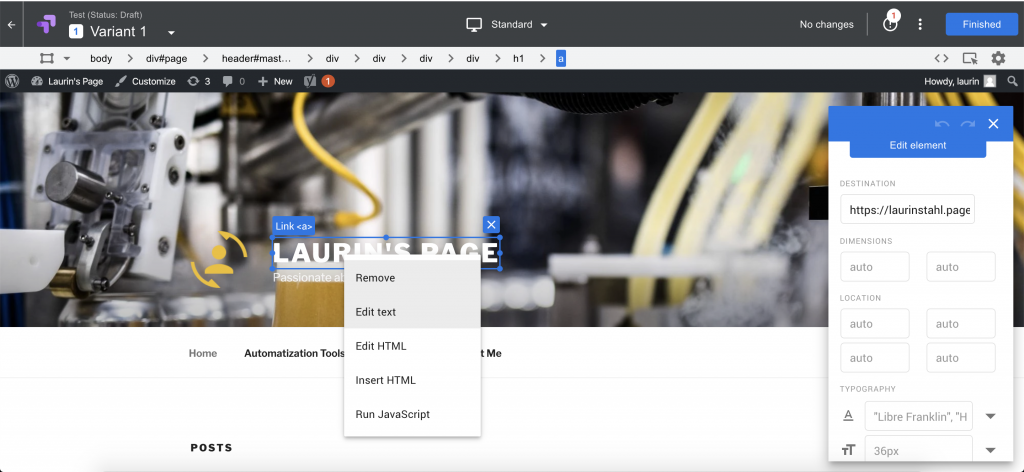
Use Google Optimize to implement changes in your platform and see if they will help your page perform better. For example: I deployed an experiment where I removed the picture thumbnails from my posts or another experiment where I changed the colour for my Call-To-Actions. It's a crazy platform. Their in-page editor that allows you to make changes to your website seems like magic.
Tip: Change variants for anything. A different header image? Change the tagline of your website? A different colour theme? You never know what will lead to more engagement and if you do not track any data, you will never know.
Hotjar: Setup | Beginners guide
Use Hotjar to record heat-maps to see where your users click and how far they scroll - and the real magic is to set-up recordings of how your users use your website. Watch them use it in real time!
Tip: You can also use it to gauge real time feedback from your users on whether they like your website.
Lastly is MailChimp, which is a little bit more complex to set-up. Start by creating your account. Then you should see a similar screen to the one below:


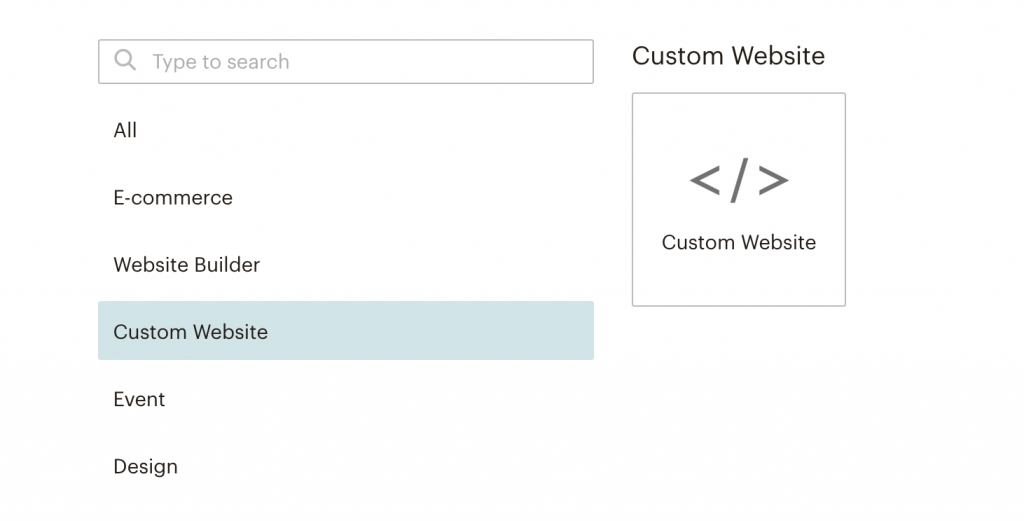
You hover over your account on the top right and navigate to Connected Sites, which will navigate to a page where you select what kind of Website you want to install Mailchimp on. In our case, this is a Custom Website.
It will ask you about your site URL, which by now you should know by heart ❤️

Once you press Get Code you retrieve a code looking similar to the one below. You copy and then open Google Tag Manager at tagmanager.google.com.

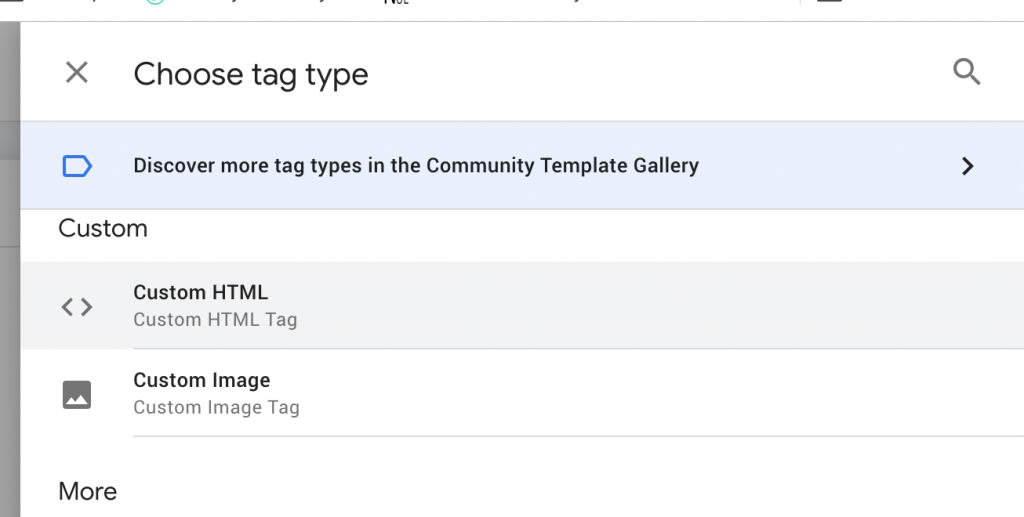
Once you are on Google Tag Manager, click on Tags on the left hand-side:
And then select New. In the pop-up, you first click on Tag Configuration

And in the toggle on the right hand-side, you select Custom HTML
And paste the code you retrieved from Mailchimp.
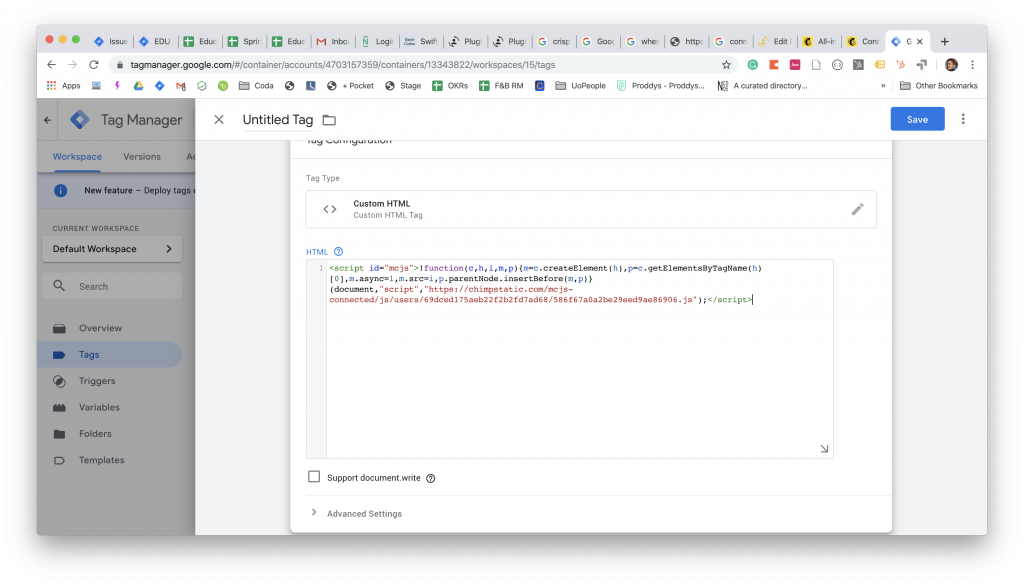
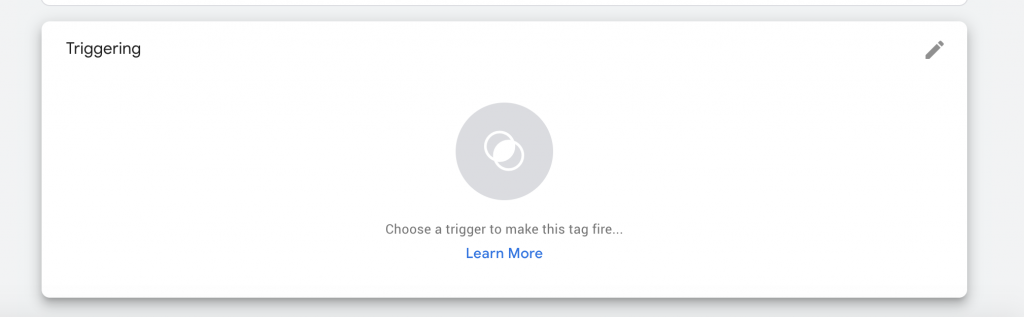
Then you press on Triggering, where you select the All Pages trigger.

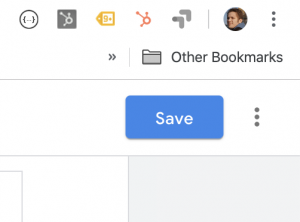
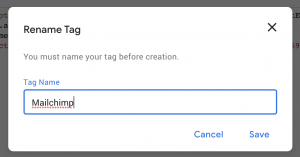
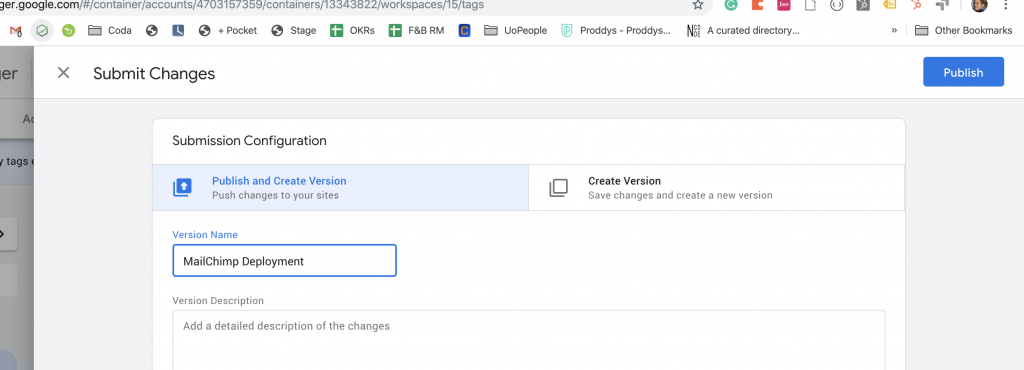
Your Mailchimp tag is configured, now you just have to Save it by pressing the button on the top-right.
You give it a descriptive name...
And Submit (again top-right)!
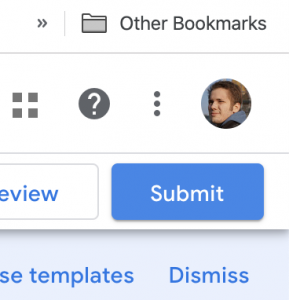
Give this deployment a descriptive name.
Phew... This was a long one. Now you are ready to set-up a Signup Form or others to your website. Check Mailchimp's Beginners guide to get started.
You got this far! Is there any part that is not. working as expected? Contact me for help!
Tip: Plug-in your WordPress RSS Feed into MailChimp to automatically send emails whenever you have a new post. You can find your RSS feed under example.com/feed, in my case laurinstahl.page/feed.
These are all the things we install using Google Tag Manager. Later I will touch upon further plugins that you install directly in to WordPress, such as Crisp (Live Chat), GDPR Consent Form, Image Optimization for faster load times and Yoast (Search Engine Optimization).
Get your page listed on Google
You probably are wondering: Why can I not find my website when googling? Well, this is another Google Service that we require. Basically, there's a website that allows you to tell Google "Hey, I have a new website, please list me". This is the Google Search Console. You can already create an account, but then you will need your Sitemap. WordPress already provides a sitemap automatically. You can find it under example.com/sitemap, i.e. https://laurinstahl.page/sitemap.xml. If you followed my previous tutorial to set-up your website you will probably run into the same problem: there seems to be an error message on your sitemap! You will recognize it not working, if it shows the following message:
This page contains the following errors:
error on line 2 at column 6: XML declaration allowed only at the start of the document
Below is a rendering of the page up to the first error
Now it will get a little bit more technical again. Fix it by following this guide.
This will fix your sitemap and you can submit it to Google Search Console. Simply follow the guide under Submit a sitemap under this link.
Create a sexy theme and customize it
Now we will actually go ahead and choose and customize your theme! On the left hand-side in the WordPress Admin panel, select Appearance - Themes. Either you choose one of the existing ones (no worries, you can customize them even if you don't like what they look like in the. preview). You can also search the vast theme database and select one. Once you found and activated your theme, then you go into Customize. Let me run you through the different options you have.
Site Identity: Change the title in the tab of the browser users see and upload a Site Icon. You can find icons in different parts of the internet, i.e. googling for transparent images or downloading something from https://materialdesignicons.com/.
Colors: Light, dark, custom, straight forward!
Header Media: Make sure to upload a high quality picture. You can find those on https://unsplash.com.
Menus: Here you can both add custom links (i.e. link to a blog post) and from all your existing pages. Organize your menu and make it work for you!
Widgets: Allow you to customize further elements, depending on the theme (i.e. sidebar or footer).
Homepage Settings: This is where you decide whether you want to have blog posts or a static page on the frontpage.
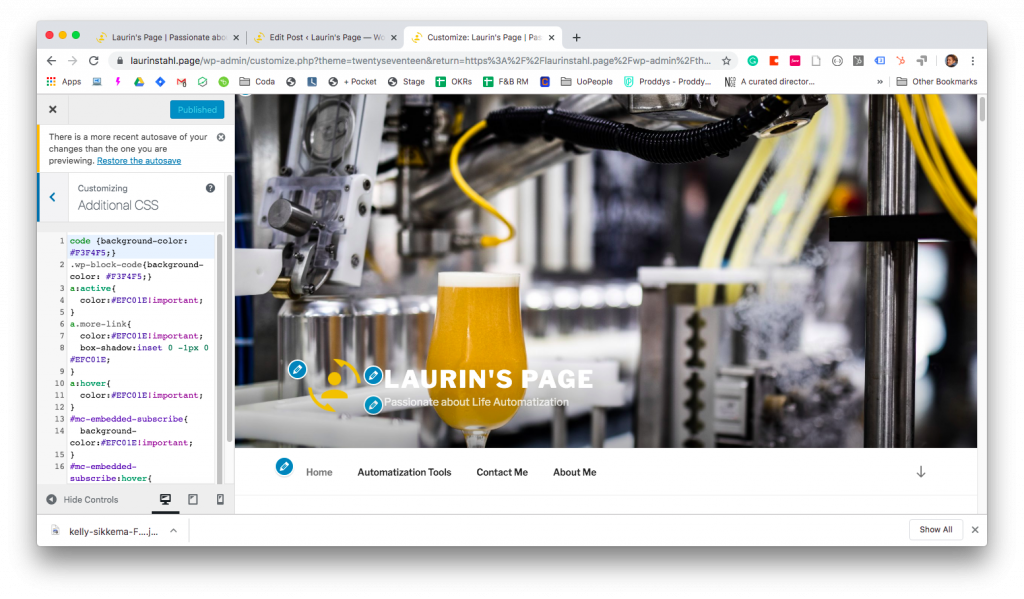
Additional CSS: This is a biggy. This is where you can ultimately customize your theme. Want to change the color of your links? Change the font-size? Remove a specific element? Do it here. However, it is recommended to know CSS, a style sheet language. This is a pretty good article that runs you through the ins-and-outs of everything! This is what it looks like on my end.
Now you should actually be ready to go and start creating your pages and writing your blog posts! Everything below is only extra stuff to up your game.
Further Plugins
I installed some more plugins and I will explain why below. Go ahead and install the same:
Crisp:
Crisp is a free variant of the extremely popular live chat platform Intercom. It's very powerful in the paid version, but the free version simply offers the ability to give a chat button at lets your site visitors to get in touch with you. Just sign up and create the account and then install the WordPress plugin.
GDPR Cookie Consent:
GDPR is the General Data Protection Regulation in the European Union which mandates that you need to inform users that you are collecting data about this. Just implement this plugin and you shouldn't have you to worry about it anymore. Don't hold me up to this, though. GDPR is a very big thing 🙈
Yoast SEO
This is a very useful plugin, which allows you to set a keyword for which you want your pages or posts to be found on Google. The plugin will then give you pointers on how to improve your writing to improve your listing.
That's it for now! Congrats, if you managed to reach here you set up your own personal website for freee! If you want to know how, contact me!
.jpg)

